This post may contain affiliate links. As an Amazon Associate I earn from qualifying purchases. Please read our disclosure policy.
Making your own homemade coffee liqueur is a fun treat and an exercise in frugality. Get this delicious recipe and use it for all of your Kahlua needs.

It is time to level up our White Russian game by making our own Coffee Liqueur. Yes, that is correct. Today, I am going to teach you how to make your own DIY Kahlua as part of our White Russian series. As you will find out, there is a very practical reason to make your own homemade coffee liqueur. Yes, part of the beauty is that you get to craft this thing with your own hands, but it will save you a lot of money, as well. Learn how to make this awesome tasting drink and save yourself some money, as well!
What is Coffee Liqueur Made From?
You guessed it. COFFEE. Also, it has rum, sugar, and the store-bought stuff has caramel food coloring in it. Coffee and rum are such a natural fit, as both are products of the same region. Kahlua itself has an origin in Mexico, but the ingredients have become commonplace and have origins in the entire region of Mexico, the Caribbean, South America, and Central America. You can learn more about these origins by looking at our recent post on the history of the White Russian.
What is the Difference Between Kahlua and Coffee Liqueur?
This is simple. Kahlua IS a coffee liqueur. The brand name is Kahlua. The kind of alcohol that Kahlua is, is Coffee Liqueur. There are other brands that are a coffee liqueur, but for many the names are synonymous. When I was a bartender at a local college bar, I really only really knew it as Kahlua. You just need to know that Kahlua is coffee liquor.
How I Constructed My Own Kahlua Recipe
I used Kahlua as the product I was trying to emulate. First thing is that I know that Kahlua is 20% alcohol and I wanted to maintain that ratio. Since we are making our coffee liqueur from rum, I was able to calculate the volume of alcohol in that and transpose it to our recipe.
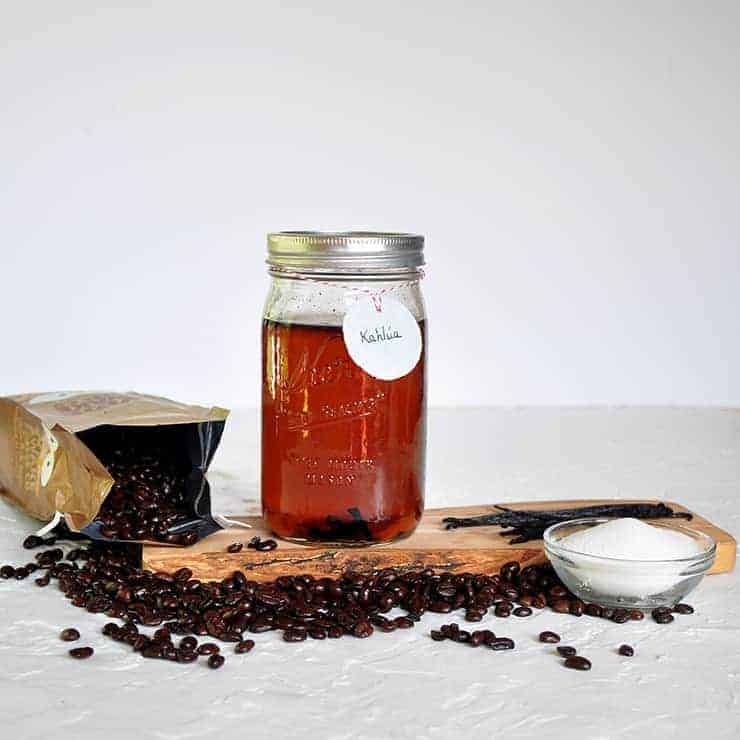
Additionally, I wanted to make sure that it had some vanilla flavor. I chose to order vanilla beans and allow them to soak in my final concoction. I also made some from vanilla extract and I will offer that as an alternative. Vanilla beans are not the most economically viable, or reachable, ingredient for everyone. Vanilla extract worked fine, but if you want to add just a tad extra something to your homemade Kahlua, use fresh beans.
Finally, we added coffee. Use what you have in your cupboard. Perhaps it would even be good to use a vanilla coffee ground instead of any vanilla at all. Part of the beauty of making your own coffee liqueur is that you can choose your own adventure on the flavors you want to use.
Why Should I Make My Own Coffee Liqueur?
The summary of this question is answered with costs, flavors, and the joy of crafting your own beverage.
DIY Kahlua is Cheaper
The simple fact is that Kahlua is not inexpensive. They do a great job, but we priced a 1.75 Liter at fifty bucks. When you calculate that down to the price for the same amount our recipe makes, it comes to $20.26. Our recipe comes to about $12.63. A person could get that to about $7.00 if they used vanilla extract instead of ordering our own vanilla beans. It is DRASTICALLY less to make Kahlua at home.
Choosing Your Own Flavors
Do you like more vanilla? ADD MORE. Do you want to forego vanilla or use a certain coffee? Maybe even a flavored coffee? There are so many options to make a unique and interesting Kahlua. A person really has a chance to make some unique, interesting, and beautiful drinks with this Kahlua recipe.
The JOY of Making Your Own Coffee Liqueur
When company comes over, you get to show off your own Kahlua! Maybe this is not everybody’s jam, but I really enjoy being able to make my own stuff and this recipe just adds to my repertoire of abilities.
Why is my Homemade Coffee Liqueur Lighter than Kahlua?
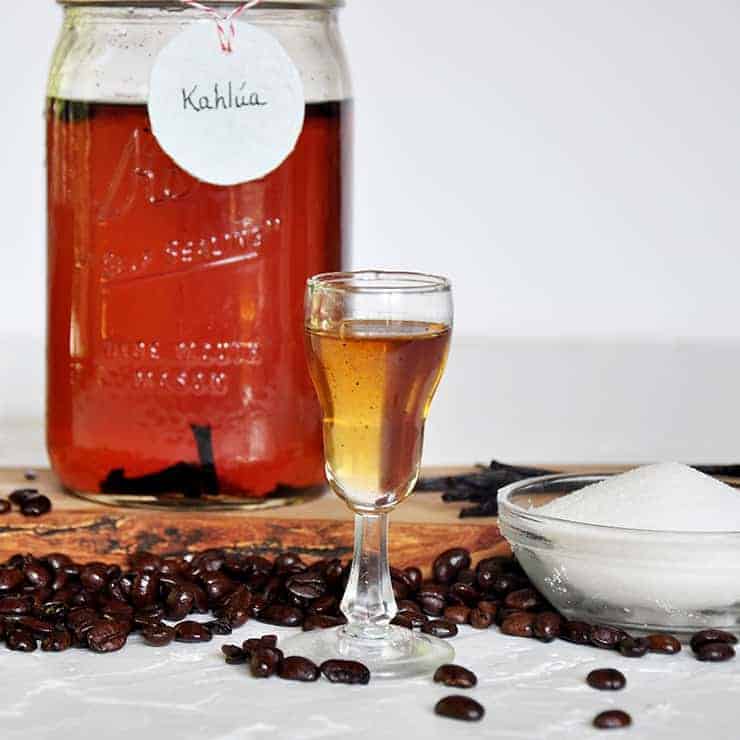
It says right on the bottle of Kahlua that they add caramel coloring. I thought about ordering some, but I chose to forego that step. I am fine with the lighter color.
Storing Homemade Coffee Liqueur
Store this as you would your normal Kahlua. I would say to use it up in a few months, but store-bought Kahlua can last a very long time.

I hope this recipe will inspire you to get out and make your own coffee liqueur. Whether you are making this for cost savings, choosing your own flavors, or the joy of it, I am happy you stuck with me. Even if you use this recipe as your starting point, that is awesome. Recipes like this are meant to be personalized and made better. This Homemade Coffee Liqueur is easy and tasty. Make it today. Don’t forget to sign up to get updates via email and follow me on Instagram.
Products Used in This Recipe
Print
Homemade Coffee Liqueur and Kahlua
- Prep Time: 10 minutes
- Cook Time: 5 minutes
- Total Time: 15 minutes
- Yield: 22 1x
- Category: Cocktails
- Method: DIY
- Cuisine: Mexican
Description
This homemade coffee liqueur is simple to make, tasty as heck, and can save you a lot of money. The Best Part is that it tastes freaking awesome.
Ingredients
- 1 ½ cups rum
- 1 ⅛ cup coffee
- 2 Cups white granulated sugar
- 3 vanilla beans, chopped into 1 ½ inch segments OR 1 tablespoon vanilla extract
Instructions
- Add coffee and sugar to large saucepan
- Put on low heat and stir until all sugar is incorporated into mixture.
- Allow to warm for 5 minutes
- Remove from heat and allow to cool.
- Add rum and mix.
- Place into separate storage container (I use a quart jar)
- Add vanilla
- Wait for at least a week.
- SERVE!
Notes
- Adding alcohol to a warm, non simmering, liquid can reduce the alcohol content by 15%.


Easy recipe and tasty. It is fun to make your own coffee liqueur.